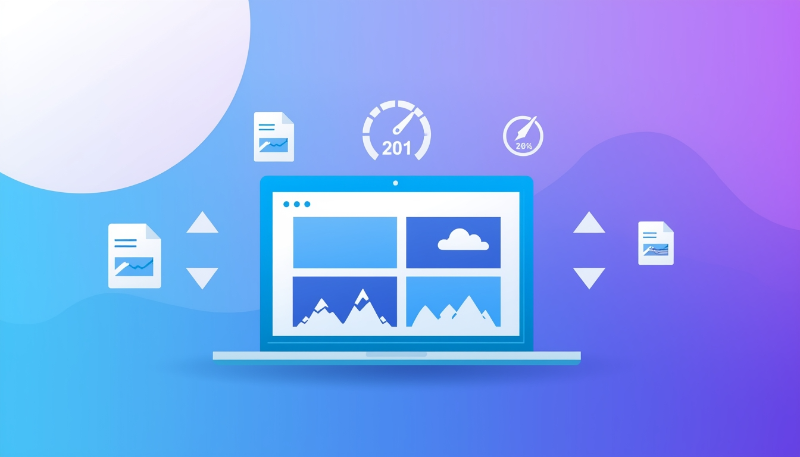
How to Compress Images Without Losing Quality
Big image files are one of the biggest reasons websites load slowly. They increase bounce rates and hurt your search rankings. But here’s the good news: you can shrink your images by 50 to 80 percent without anyone noticing a difference in quality.
Let’s go through the best ways to compress your images properly.
1. Pick the Right Image Format
Not all formats are created equal. Each one has its strengths:
-
JPEG - Great for photos. It gives you a good balance between quality and file size. If you’re uploading product shots or blog photos, JPEG is usually the safe pick.
-
PNG - Best for graphics, logos, and screenshots where you need transparency or sharp edges. But be aware, PNG files are usually much bigger than JPEG.
-
WebP - The newer kid on the block. WebP gives you smaller files than both JPEG and PNG while keeping similar quality. Most modern browsers support it, so it’s a smart choice for websites.
2. Use Quality-Based Compression
Here’s something most people don’t realize. You can drop image quality to 70 to 85 percent and the image looks almost the same to the human eye.
Try it yourself. Take any photo, save it at 100% quality and then at 80% quality. Put them side by side. You probably won’t spot the difference, but the file size will be noticeably smaller.
3. Resize Before You Compress
This is a step many people skip, and it makes a huge difference.
A photo straight from your phone might be 4000 x 3000 pixels. But on a website, that image is probably displayed at 800 or 1200 pixels wide. All those extra pixels just add file size without any visual benefit.
Resize first, then compress. You’ll get much better results this way.
4. Remove Hidden Metadata
Every photo you take carries hidden data like camera settings, GPS location, and timestamps. This is called EXIF data, and it adds to your file size without doing anything useful for your website.
Stripping this data out is quick and easy, and your images look exactly the same after.
5. Use WebP for Your Website
If you’re only going to make one change, make it this one. WebP can reduce file size by 25 to 60 percent compared to JPEG and PNG while looking just as good.
Almost all modern browsers support WebP now, so there’s very little reason not to use it. It’s one of the easiest wins for website speed.
FAQs
Does compressing images reduce quality?
Not if you do it right. Most images can be compressed to 70-85% quality without any visible difference. The trick is finding the right balance for your specific images.
What’s the best image format for websites?
WebP is the best overall choice for most websites today. It gives you the smallest file size with good quality. Use JPEG as a backup for older browser support.
How much should I compress my images?
For most images, 70 to 85 percent quality is the sweet spot. Below 70% you might start noticing some quality loss, especially on photos with lots of detail.
Conclusion
Image compression isn’t just about making files smaller. It directly affects how fast your website loads, how long visitors stay, and how well you rank in search results.
Here’s the quick checklist:
- Use JPEG for photos and PNG for graphics
- Use WebP whenever possible for best performance
- Compress to 70-85% quality
- Always resize before compressing
- Strip out unnecessary metadata
It takes just a few minutes to get this right, and the difference in page speed is worth it.
👉 Use our Image Compressor tool to compress, resize, and optimize your images in seconds.